To deploy an application with ClickOnce, you have
three options: the Publish command in the Build menu, right-clicking the
project in Solution Explorer, and selecting Publish or the Publish Now
button in the ClickOnce configuration page within My Project. For now
we focus on the first option, whereas the second option is covered in
the next section. Now create a new WPF project with Visual Basic and
name it ClickOnceDemo. There is no
need to write code for the application because we need only a base for
our example. In order to deploy an application with ClickOnce, follow
these steps:
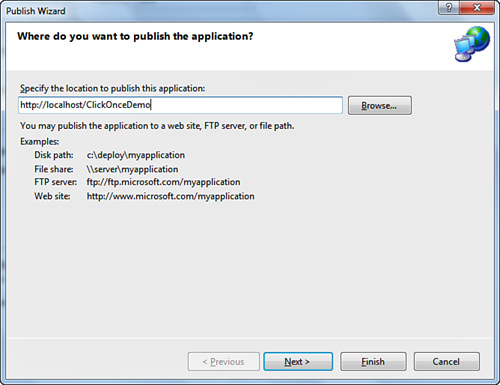
1. | Click Build, Publish, Visual Studio launches the Publish Wizard. Figure 1
shows the first dialog of the wizard, in which you need to specify the
location where the application will be published. Notice how the dialog
also explains available possibilities, such as disk path, network shared
path, ftp server, or website. You can change the target type and
location by clicking Browse. In this
case let’s publish the application to the local Internet Information
Services website, which requires Visual Studio to be running with
administrator privileges.
|
Publish
the application to a local folder on the file system if you want to
deploy the application on media supports such as CD-ROM or zipped
archives. This option can make the application available only offline.
|
|
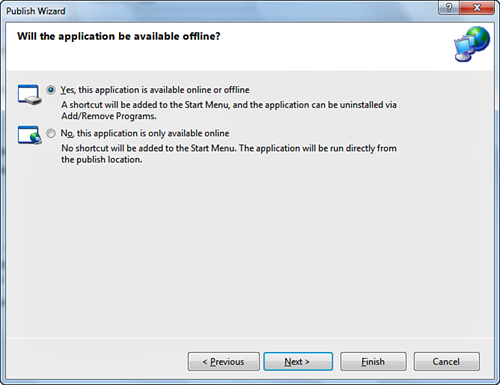
2. | Click Next.
The second dialog of the wizard enables specifying if the application
will be available offline. In this case the .NET Framework creates a
shortcut in the Start menu for launching the application and another one
in the Add/Remove Programs tool for enabling uninstalling the
application. Figure 2
shows how you set this option. Basically, this is all the information
that Visual Studio needs to create a ClickOnce deployment.
|
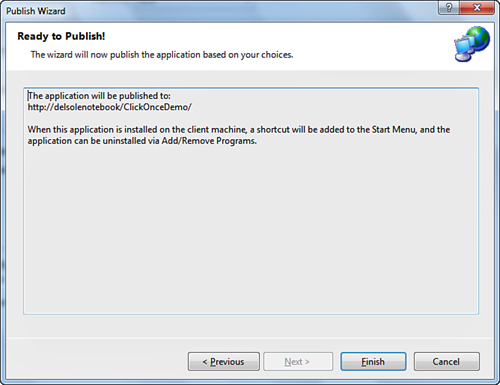
3. | Click Next. You will see the last dialog of the wizard showing the deployment information summary (see Figure 3).
|
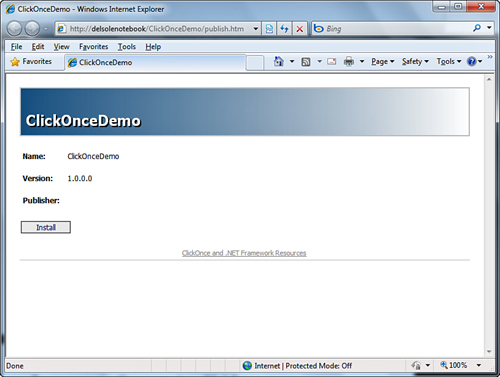
4. | Click Finish,
Visual Studio generates all the required files and folders. Because the
deployment is currently done for a web server, Visual Studio also
generates a Publish.htm web page that is the place from which users can
install the application. Figure 4 shows the page created for this sample application.
|
|
Being
a simple Html page, the default Publish.htm can be edited to accomplish
your particular needs or just to provide a different appearance. In
this case the web page address points to the local IIS, but if you
publish the application onto a real server, you probably do this via an
FTP account, whereas the web page address, where users install the
application from, is something like this:
http://www.something.com/ClickOnceDemo/publish.htm.
|
Now click Install.
At this point a security warning informs you that the application is
downloading from a website with other information about the publisher,
as shown in Figure 5.
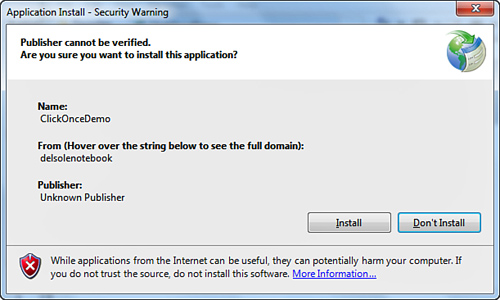
Because you are the publisher and you trust yourself, click Install.
This installs the application on your system, and a shortcut will be
added to the Start menu. To remove the application simply open the Control Panel, Programs and Features tool, and then select the application from the list.
Structure of a ClickOnce Deployment
The publish process, whatever target you select, generates a subfolder containing the following elements:
A bootstrapper file named Setup.exe, which launches the installation.
The application manifest, which contains information on how the application has to be run in the ClickOnce context.
The Publish.htm file (only if the application has been published to a Web or FTP space).
A
subfolder containing the actual application and related files. This
subfolder has a version number that is recognized by the .NET Framework
when the application finds updates.
If you publish the application to the file system for
deploying to media supports such as a CD-ROM, you just need to copy to
the media the content of the publish folder.
Tip
Unless you specify a publish folder, the deployment
package is published to Bin\Debug\Publish or Bin\Release\Publish
depending on the selected configuration.